Crimped in Primers
By Philip Mahin

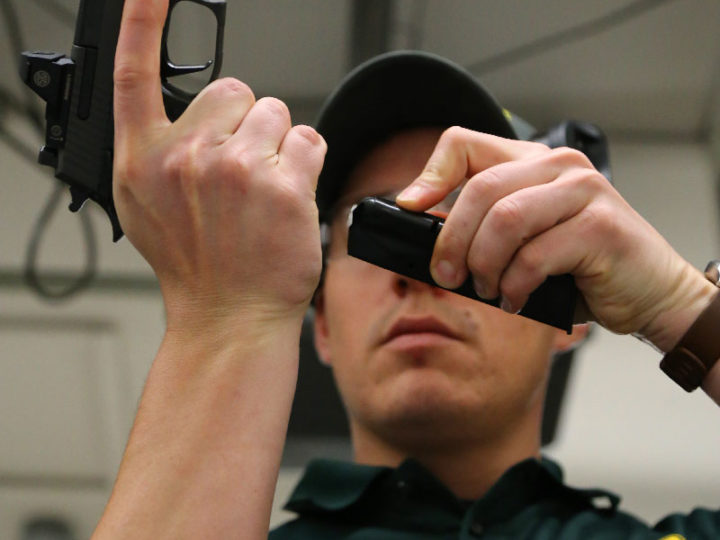
A customer called the 800 room… I know, a lot of our posts start this way, but it is a good way to get a message out to a lot of other shooters that could be facing the same situation. This call was about an odd primer pocket that a shooter had found. After the case was resized and the spent primer was removed, a new primer wouldn’t go back in.
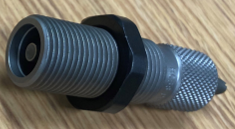
This photo is of a case I’ve found in my personal collection that I feel matched his description. The way he saw it, there was a sleeve inserted into the primer pocket that went the full diameter around and was blocking the new cup from being pushed back in. What he was really seeing is a crimp put on at the factory to keep the primer seated correctly, even under the roughest of handling. Material from the face of the case is forced over the edge of the cup, creating a step that looks like an inserted sleeve. These primers are tough to remove, so I use a dedicated decapping die, just so I don’t break the stem in my resizing die. Regardless of how it is taken out, the crimped in portion of the pocket must be moved or removed before a new primer can be seated back into the case. Some shooters simply remove it with a cutting tool of some kind. Others, like myself, use a swaging tool to force the material back into the place it come from before it was crimped. There are several brands that offer a swaging tool, I’ve used the stand-alone units that work from a bench top that some may find easy to use. Others are made to work from the reloading press utilizing the pressure it can generate.
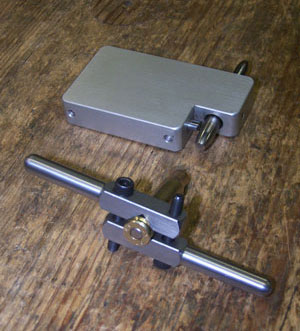
My current unit is an RCBS #09481 that works well in a single stage press. As you can see in the photo, the body of it looks like a die. The die is hollow, allowing enough room for a 7.62mm / 308Win case. The rod inside slips into the case and this one is small enough to fit into a 5.56mm / 223Rem case neck. The flat bottom of the stem contacts the inside of the case web, keeping the case stationary while the press does all the work. Note: the unit as new comes with two rods and swager heads to use with both cartridges.
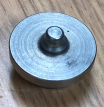

The piece you see at the left is the swager head that fits into the press ram, where the shell holder would normally go. To the right is a cap that fits over the swager head and the protrusion comes up through the hole. Don’t forget to put this piece into place before you use the unit because it won’t be as easy to remove the case otherwise. As the ram is moved up, the protrusion pushes into the primer pocket, moving the material back into place. After the job is finished, and the ram is bought back down, the bottom of the cap catches on the press body and pops the case off the protrusion. It works well for me and once the material is pushed back into place, the new primer should seat back into the pocket easily.
If you come across something that you may not have experienced before, don’t hesitate to call our 800-223-8799 number. More than likely, we’ve seen it and had to deal with it, just like you are now. We’ll be more than happy to help, but till then, have fun shooting and be safe.